Getting Started with AWS
11/2/20232 min read
Create an AWS account
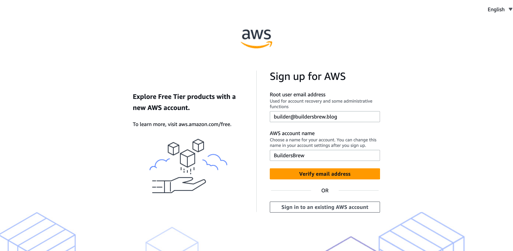
Go to aws.amazon.com and choose Create an AWS Account
Provide a valid email address and account name.
Verify the email address.
Create your password.
Provide contact information.
Verify your identity.
Select a support plan.
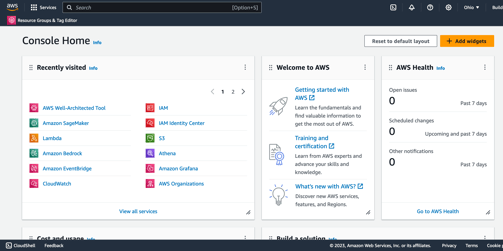
Complete sign up and login to AWS management console.
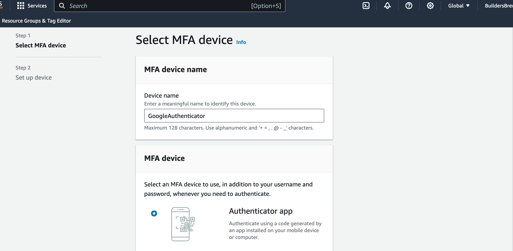
Add MFA for root user
It is highly recommended to add MFA to secure root access to your account. You can use virtual MFA devices like Google Authenticator and set up MFA as explained here.
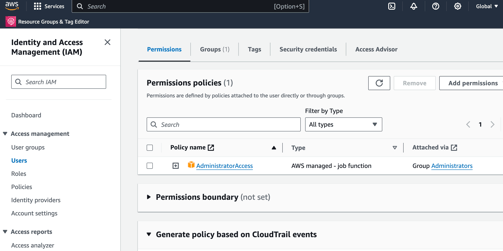
Create an administrator user
It is recommended not to use root user for any activities beyond the initial account setup. Create a new user with administrator privileges as explained here.
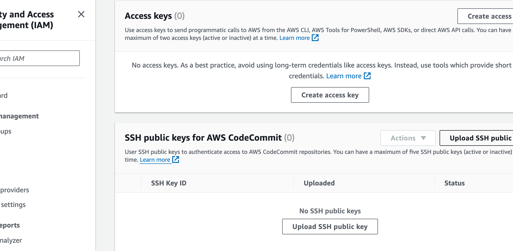
Enable programmatic access
Log back in to AWS console with admin user credentials. To enable programmatic access to AWS, create access keys as described here or use recommended alternatives here. Manage your access keys securely.
Install AWS Command Line Interface (CLI) on your desktop
Install the latest version of AWS CLI on your desktop as explained here. After installation, run "aws configure" command from your terminal to configure the AWS credentials (access key and secret key) created in previous step.
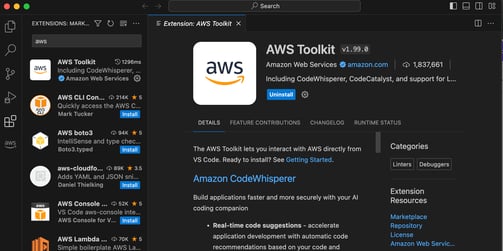
Install AWS Toolkit in your Integrated Development Environment (IDE)
AWS Toolkit is a supported extension in many of the popular IDEs (e.g. Visual Studio Code). You can install the extension directly from your IDE.
You are all set! Explore these blogs or AWS hands-on tutorials to start your AWS journey!


